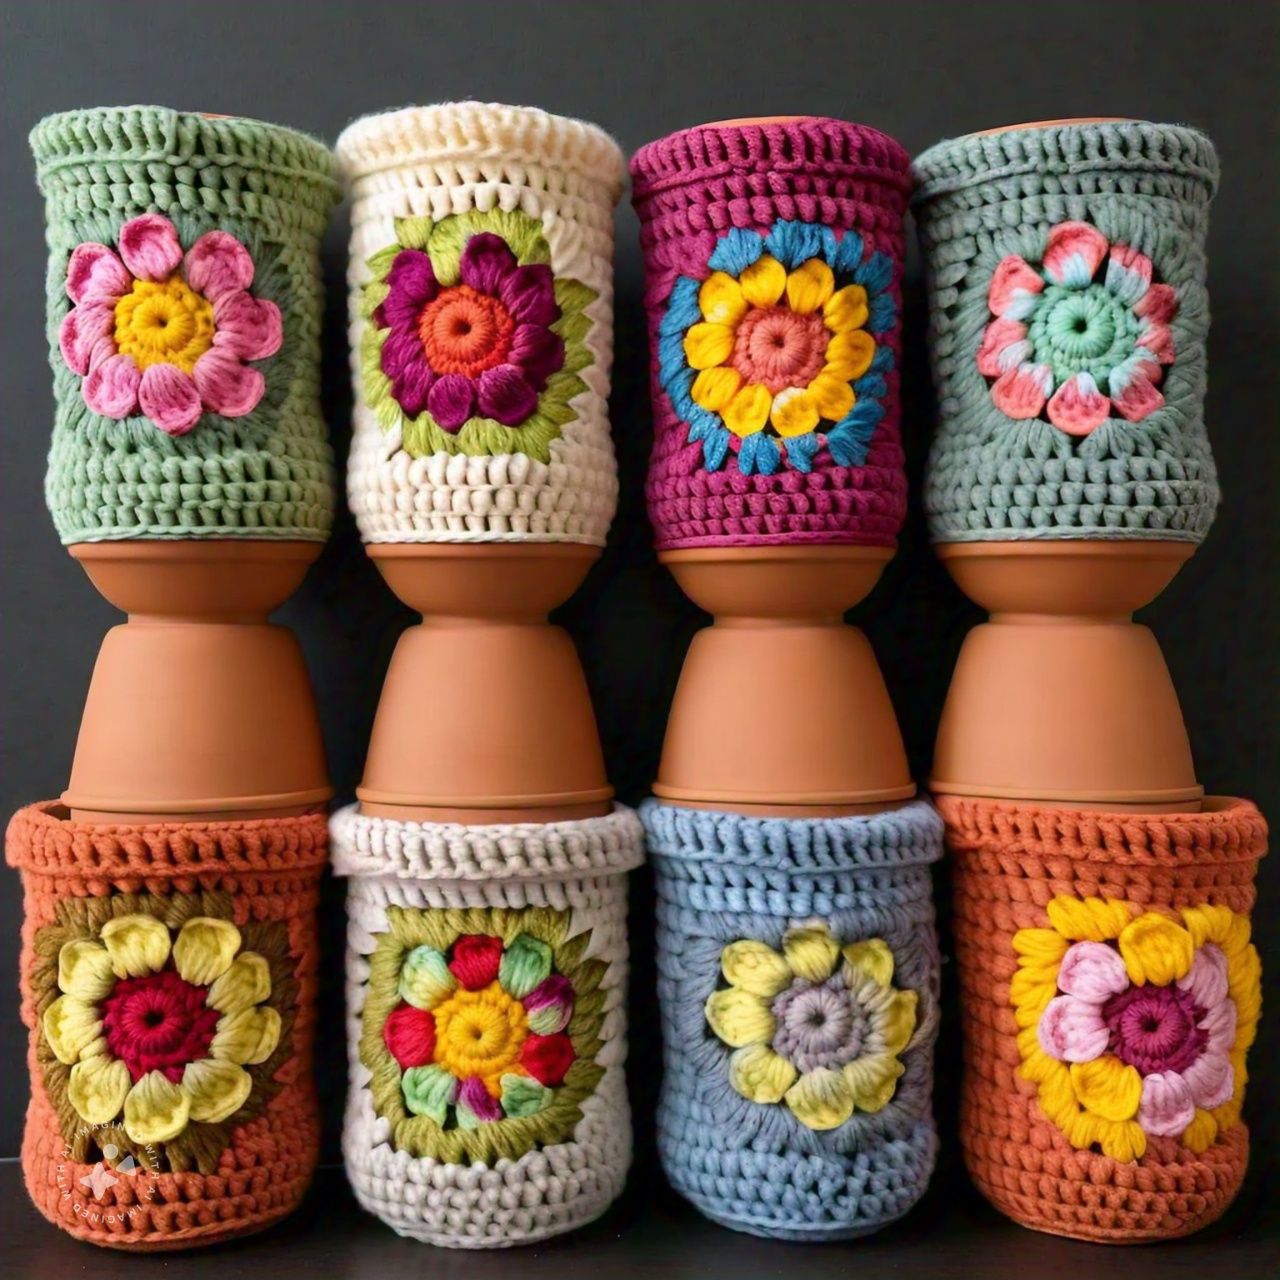
Crocheting flower pot covers is a fantastic way to add a personal touch to your home décor while giving your plants a cozy, stylish home. These covers are not only decorative but also serve practical purposes, such as protecting your pots and creating a unique look for your indoor or outdoor spaces. In this detailed blog, we’ll explore 10 different types of flower pot covers made through crochet, ranging from simple designs for beginners to more intricate patterns for experienced crocheters. Each style can be customized with different colors, stitches, and yarn types to match your aesthetic and the size of your flower pots.
1. Basic Single Crochet Flower Pot Cover
This is a perfect starting point for beginner crocheters. The basic single crochet (SC) flower pot cover involves using simple stitches to create a snug, stretchy fabric that wraps around your pot. It’s a versatile design that can be customized by changing the yarn color or size.
Materials:
- Cotton yarn (medium weight)
- Crochet hook (size depends on yarn weight)
- Scissors
- Tapestry needle for weaving in ends
Instructions:
- Create a foundation chain: Measure the circumference of the pot’s base and chain a length that matches it.
- Work in rounds: Use single crochet stitches to work in continuous rounds, increasing the number of stitches to accommodate the widening shape of the pot.
- Finish with a rim: After reaching the desired height, you can create a decorative edging by adding a row of slip stitches or reverse single crochets.
Customization Tips:
- Add stripes by changing colors every few rows.
- Use bulky yarn for a thicker, more robust cover.
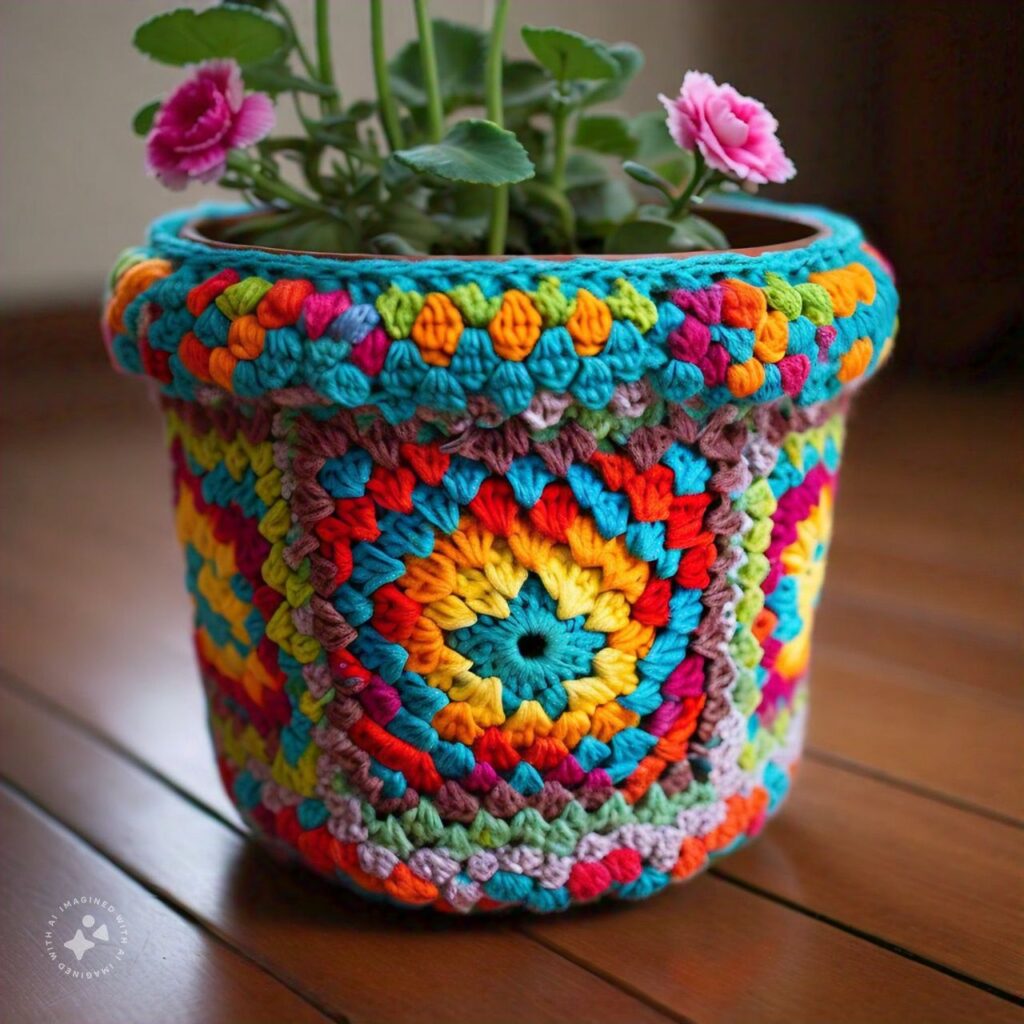
2. Granny Square Crochet Flower Pot Cover
Granny squares are classic crochet motifs that can be used for various projects, including flower pot covers. This cover is made by creating multiple granny squares and joining them to form a pot cover that wraps around the planter.
Materials:
- Worsted weight yarn in different colors
- Crochet hook (appropriate size for the yarn)
- Scissors and tapestry needle
Instructions:
- Make granny squares: Start by making four or five granny squares using your choice of colors.
- Join the squares: Use a slip stitch or whip stitch to join the granny squares together in a tube shape.
- Create the bottom: You can crochet a simple flat circle for the bottom of the pot cover and attach it to the squares.
- Finish with edging: Add a decorative border at the top, such as scallops or picot stitches.
Customization Tips:
- Use bright, contrasting colors to make your granny square flower pot cover pop.
- You can add beads or other embellishments to the center of each square.
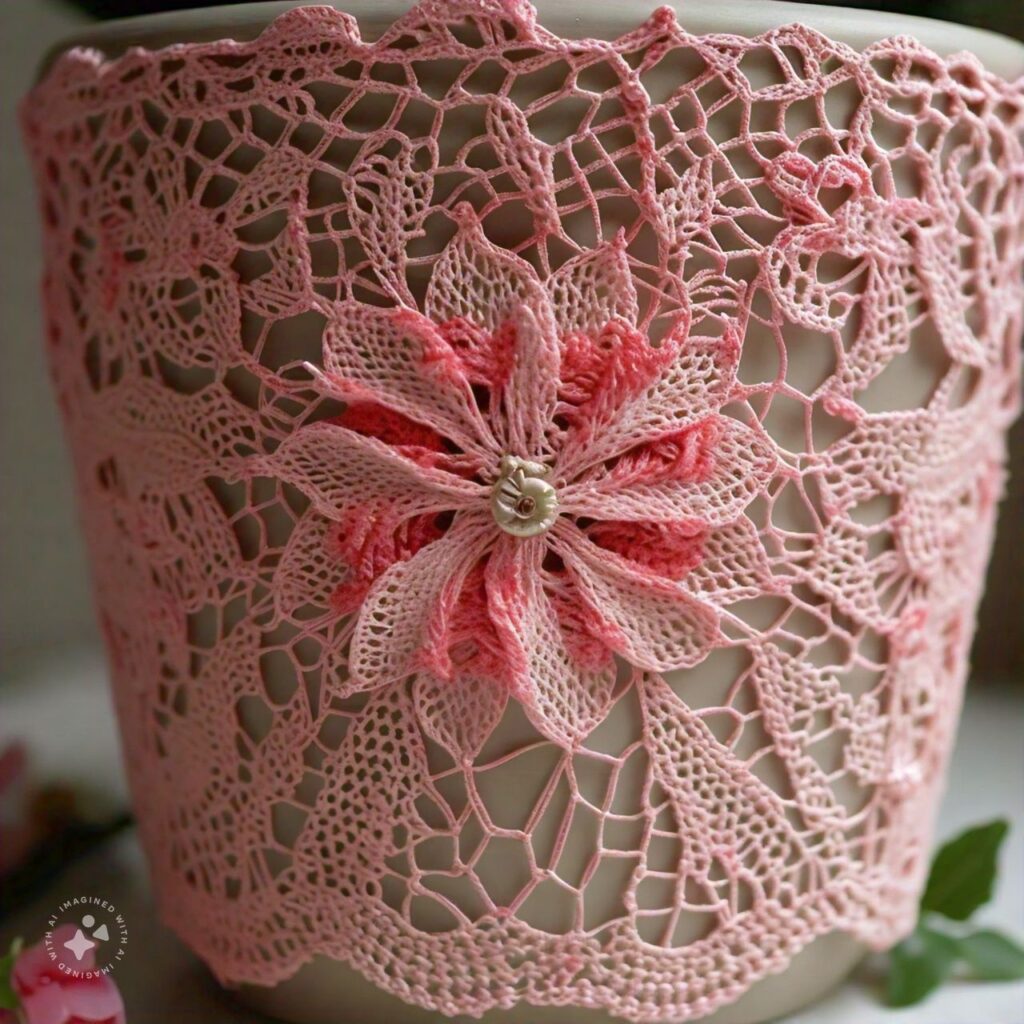
3. Lacy Crochet Flower Pot Cover
For a delicate and elegant look, a lacy crochet flower pot cover is the way to go. This design uses open stitches and intricate patterns to create a lightweight, airy cover that is perfect for smaller pots or decorative plants.
Materials:
- Fine cotton thread or lightweight yarn
- Small crochet hook
- Scissors and tapestry needle
Instructions:
- Chain foundation: Measure the circumference of the pot’s base and chain accordingly.
- Work in a lace pattern: Use stitches like double crochet, chain spaces, and slip stitches to create a lacy pattern. Patterns such as shells, fans, or mesh designs work well for this type of cover.
- Adjust for height: Continue working the lace pattern, increasing as necessary to fit the pot’s shape.
- Finish with a decorative top edge: You can add a row of picot stitches or a simple scalloped edge.
Customization Tips:
- Use a metallic or shiny yarn for an extra touch of elegance.
- Block the finished cover to enhance the lace’s definition.
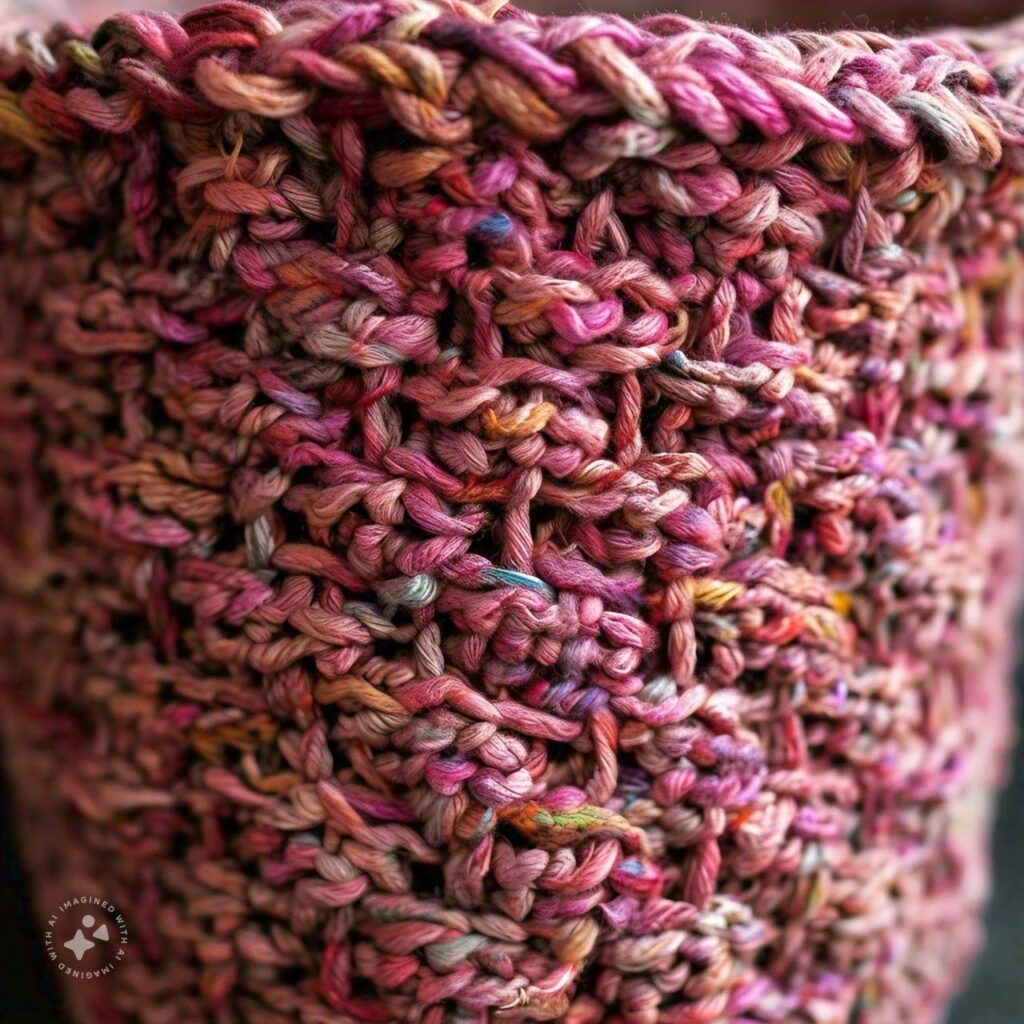
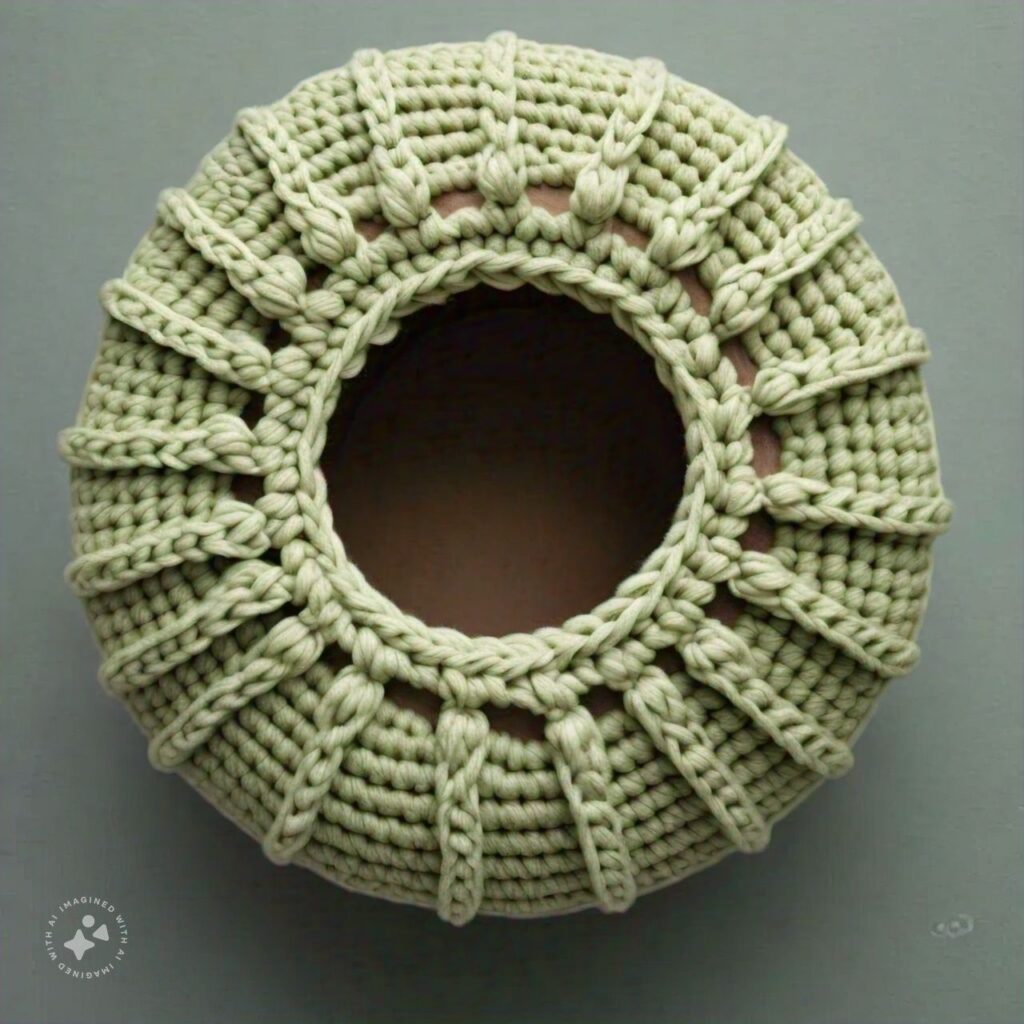
4. Textured Basketweave Crochet Flower Pot Cover
The basketweave stitch creates a dense, textured fabric that resembles a woven basket, making it perfect for adding a rustic charm to your flower pots. This cover is both stylish and practical, providing extra durability.
Materials:
- Chunky yarn for a thicker texture
- Large crochet hook (to match yarn weight)
- Scissors and tapestry needle
Instructions:
- Chain foundation: Start by chaining a length that fits around the base of the pot.
- Work in basketweave stitch: Alternate between front post double crochets (FPDC) and back post double crochets (BPDC) to create the basketweave texture.
- Increase to fit the pot: Continue working in rounds, increasing at regular intervals to fit the widening of the pot.
- Finish with a sturdy rim: Add a few rows of single crochet at the top to form a sturdy edge.
Customization Tips:
- You can change the size of the basketweave by alternating how many FPDCs and BPDCs you use in each section.
- Use natural, earthy tones to emphasize the woven look.

5. Chevron Pattern Crochet Flower Pot Cover
Chevron patterns are trendy and give a modern look to your flower pot. This design alternates between peaks and valleys, making a visually striking cover.
Materials:
- Two or more contrasting yarn colors
- Crochet hook
- Scissors and tapestry needle
Instructions:
- Create a foundation chain: Chain in multiples of the chevron pattern repeat (usually a multiple of 12 or 14).
- Work in the chevron stitch: Alternate between increasing and decreasing stitches to create the chevron pattern. Use double crochets or half-double crochets depending on your preferred texture.
- Switch colors: Change colors every few rows to make the chevron design more dynamic.
- Finish with a matching border: Add a row of single crochet at the top for a clean finish.
Customization Tips:
- Use bold, contrasting colors for a striking visual effect.
- You can make the chevron pattern subtle by using monochrome or gradient yarns.
6. Bobble Stitch Crochet Flower Pot Cover
The bobble stitch adds a playful, three-dimensional texture to your flower pot cover, making it stand out. It’s a great choice for those who want a fun and tactile design.
Materials:
- Medium-weight yarn
- Crochet hook (appropriate size for yarn)
- Scissors and tapestry needle
Instructions:
- Start with a foundation chain: Measure around the pot’s base and chain to fit.
- Work in rounds: Use a combination of single crochet and bobble stitches to create the desired pattern. The bobble stitch adds clusters that pop out from the fabric.
- Adjust for size: Increase stitches as needed to fit the pot’s shape.
- Finish with a simple top edge: You can use slip stitches or reverse single crochets for a neat finish.
Customization Tips:
- Use different colors for the bobble stitches to create a polka-dot effect.
- Combine bobble stitches with other textured stitches, like puff or popcorn stitches, for extra dimension.
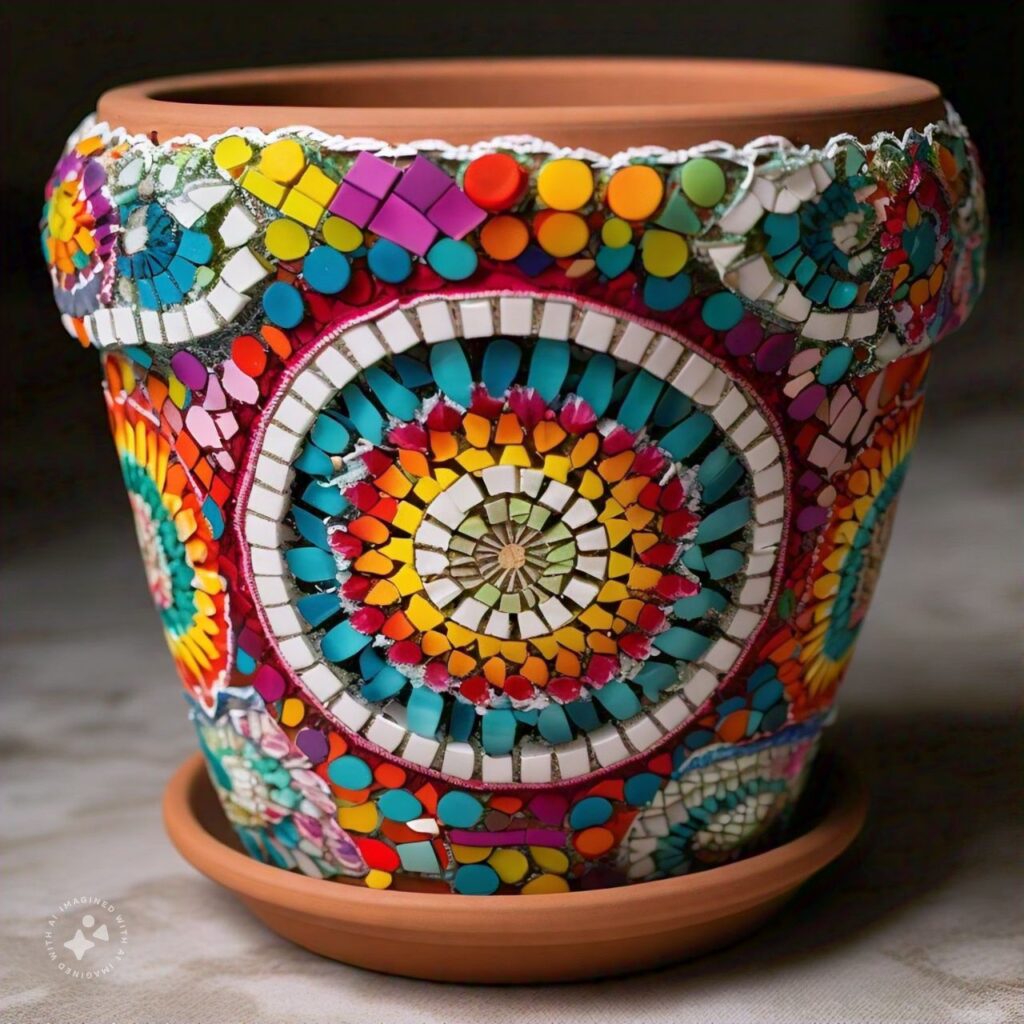
7. Mosaic Crochet Flower Pot Cover
Mosaic crochet involves using two colors of yarn to create intricate geometric designs. This style is ideal for those who want to make their flower pot covers a work of art.
Materials:
- Two contrasting yarn colors
- Crochet hook
- Scissors and tapestry needle
Instructions:
- Create a foundation chain: Chain the appropriate length for your pot’s base.
- Work in mosaic stitch: Follow a mosaic crochet pattern, alternating between the two colors of yarn to create geometric shapes. You’ll work with one color per row, slipping stitches from the other color to create the mosaic effect.
- Adjust for pot shape: Increase or decrease the number of stitches as needed to fit the pot.
- Finish with a border: Add a row of slip stitches or a simple edging to complete the look.
Customization Tips:
- You can find many mosaic patterns online, from simple to complex. Start with a basic pattern if you’re new to mosaic crochet.
- Use bold, contrasting colors for a striking design.
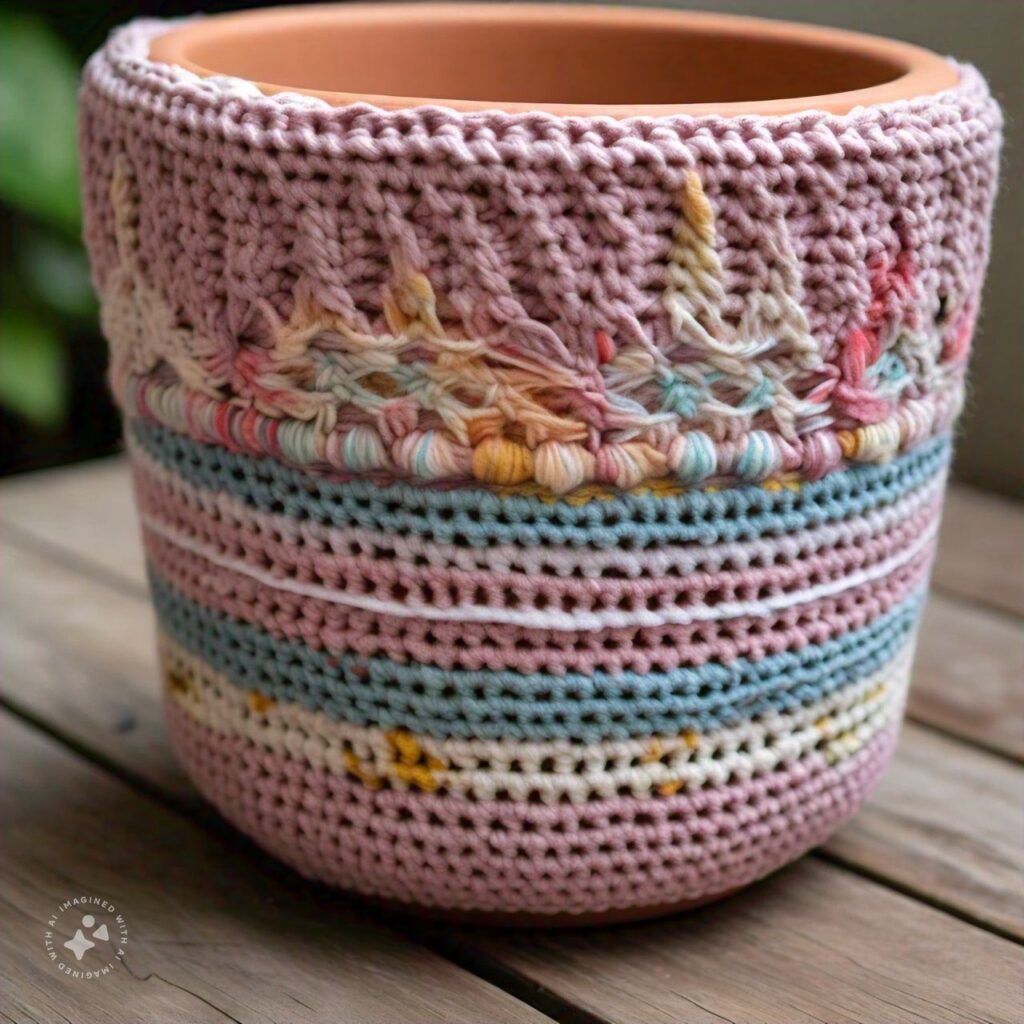
8. Striped Crochet Flower Pot Cover
A striped flower pot cover is a classic design that adds color and style to your plants. This design is simple yet effective, allowing you to play with color combinations to match your décor.
Materials:
- Multiple colors of yarn
- Crochet hook
- Scissors and tapestry needle
Instructions:
- Chain foundation: Chain a length that fits around the pot’s base.
- Work in rounds: Alternate between colors every few rows to create stripes. You can use single, double, or half-double crochet stitches depending on your preference.
- Adjust for pot size: Increase the number of stitches as needed to fit the pot’s shape.
- Finish with a clean edge: Add a row of slip stitches at the top for a neat finish.
Customization Tips:
- Experiment with different color schemes, like rainbow stripes or a monochromatic gradient.
- Add a decorative border, such as a shell or scalloped edge.

9. Puff Stitch Crochet Flower Pot Cover
Puff stitches create a fluffy, textured look that makes your flower pot cover stand out. This design is great for adding a soft, cozy feel to your space.
Materials:
- Soft, chunky yarn
- Large crochet hook
- Scissors and tapestry needle
Instructions:
- Chain foundation: Start with a chain that fits around the base of your pot.
- Work in puff stitches: Alternate between single crochet and puff stitches to create texture.
- Increase as necessary: Add stitches as you go to accommodate the shape of the pot.
- Finish with a simple border: Add a few rows of single crochet at the top for a neat edge.
Customization Tips:
- Use multicolored or variegated yarn for a fun, dynamic look.
- Add a pom-pom or tassel to the top for extra flair.
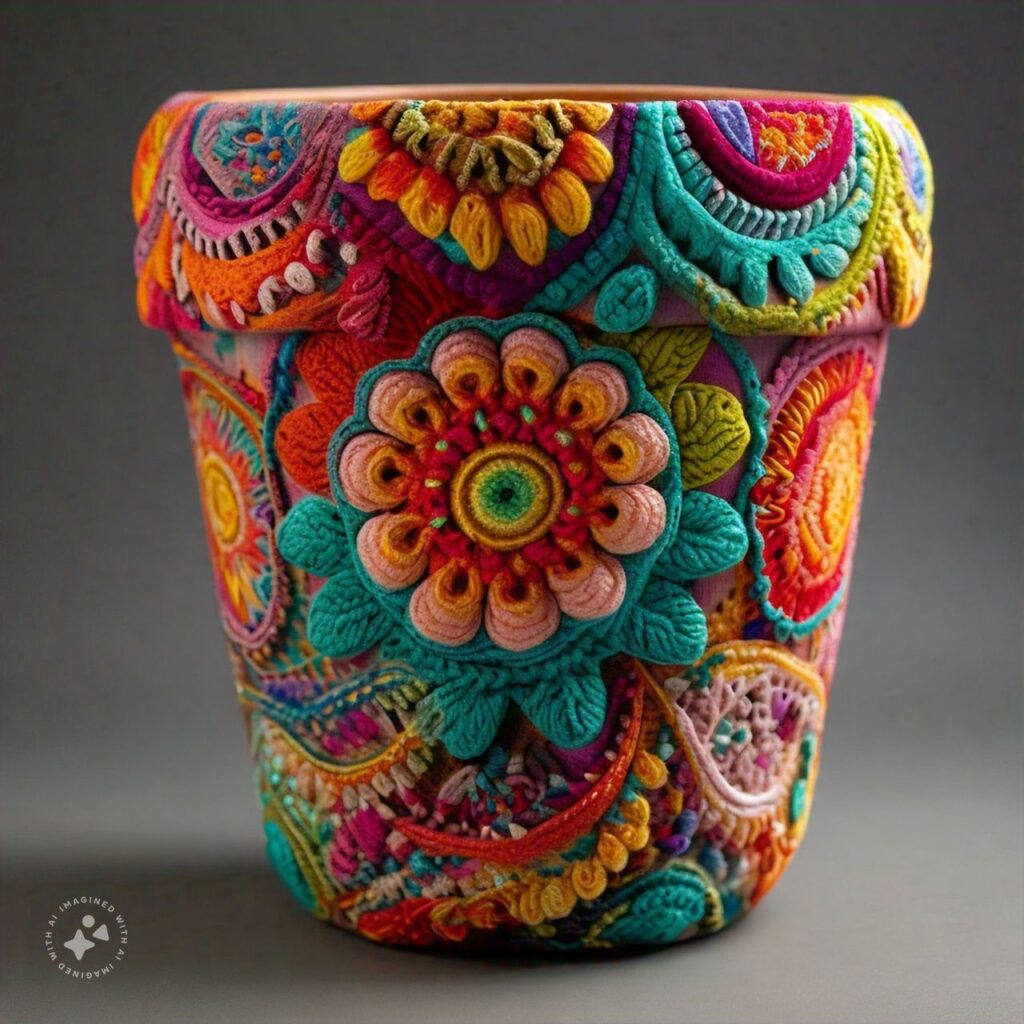
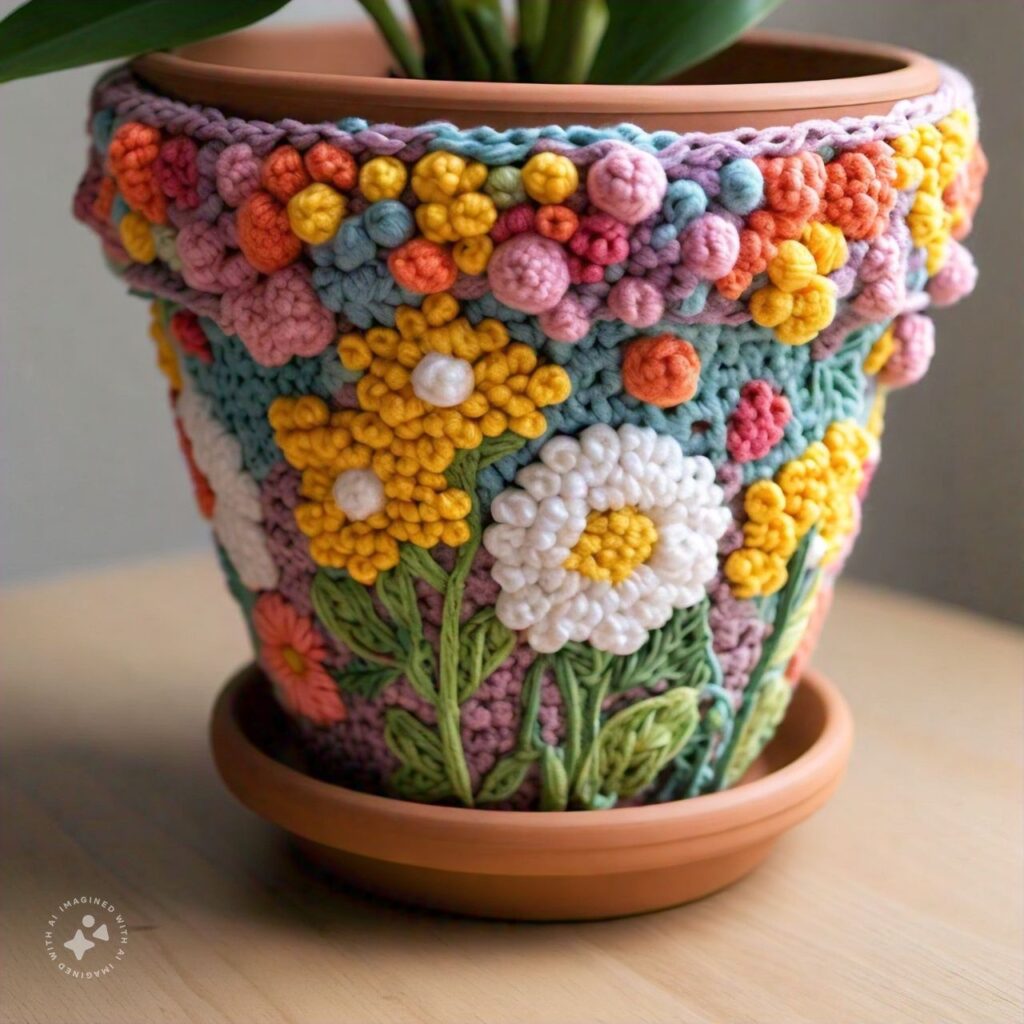
10. Tapestry Crochet Flower Pot Cover
Tapestry crochet allows you to create intricate designs and patterns using multiple colors of yarn. It’s a perfect way to personalize your flower pot cover with unique designs like flowers, shapes, or even text.
Materials:
- Multiple colors of yarn
- Crochet hook
- Scissors and tapestry needle
Instructions:
- Chain foundation: Chain the correct length for your pot.
- Work in tapestry crochet: Follow a pattern or create your own, carrying the unused yarn colors along as you work to create detailed designs.
- Increase for the pot shape: Add stitches as needed to ensure the cover fits the pot.
- Finish with a decorative edge: Add a row of slip stitches or a contrasting border for a polished look.
Customization Tips:
- Tapestry crochet offers endless possibilities for design. You can create geometric patterns, nature-inspired motifs, or even personalize the cover with names or initials.
- Use vibrant, contrasting colors to make your design pop.
Conclusion
Crocheting flower pot covers is a wonderful way to add a handmade touch to your home décor. Whether you prefer simple, functional designs or intricate, artistic creations, there’s a crochet pattern to suit your style. Each of these 10 types of crochet flower pot covers can be adapted to different pot sizes, yarn colors, and skill levels, allowing you to create a personalized, unique accessory for your plants. With just a hook and some yarn, you can transform ordinary flower pots into stunning décor pieces. Happy crocheting!
READ MORE