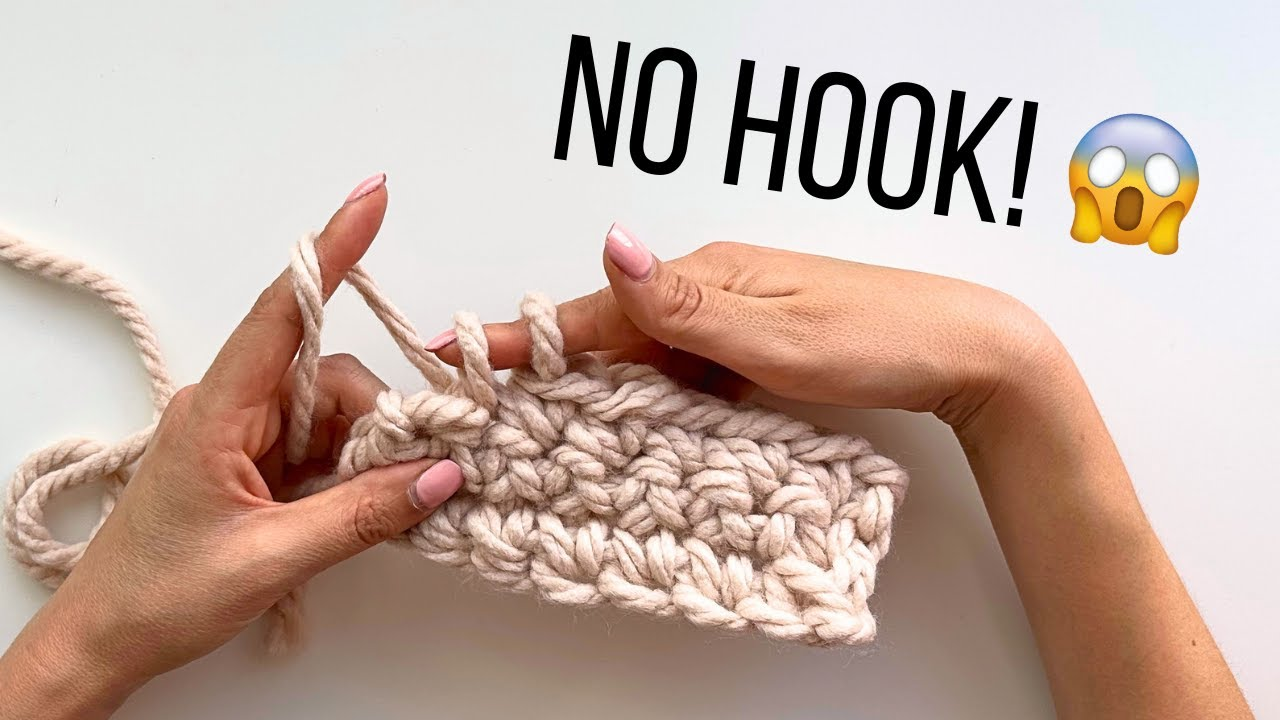
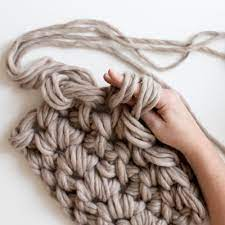
The technique of crocheting with your fingers rather than a hook is called finger crocheting. For individuals who find using a hook difficult or for large-scale tasks, this method is perfect. Although you can use any kind of yarn for finger crocheting, chunky or bulky yarns that are easier to work with with your fingers are particularly well-liked.
Advantages of Finger Crochet

- Accessibility: It’s simpler for people with dexterity concerns because there’s no need for a crochet hook.
- Portability: You can crochet anywhere as long as you don’t need to bring hooks.
- Creativity: Gives your work a distinct texture and appearance.
- Ease of Learning: Beginners can easily understand simple techniques.
- Therapeutic: Using your hands can be a soothing and therapeutic tactile experience.
Materials Needed
- Yarn: Chunky or bulky yarn works best for finger crochet. Look for yarn that is soft and easy to manipulate.
- Scissors: For cutting the yarn.
- Tapestry Needle: For weaving in ends (optional).
Simple Finger Crochet Methods
Slip Knot
- Using the yarn, make a loop and leave a tail.
- Put your forefinger and thumb within the loop.
- To make a new loop, take the working yarn and draw it through the loop.
- Pulling the working yarn and the tail end will tighten the knot.
Link Stitch
- Tighten the slip knot with your index finger.
- The slip knot should be held in place with your thumb and middle finger.
- Take hold of the working yarn with your free hand and thread it through your finger’s loop.
- To get the desired length of chain, repeat these steps.
Single Crochet
- With a foundation chain, begin.
- Place the index finger into the chain that is second from the finger.
- Using the working yarn, make two loops on your finger by pulling it through the chain.
- Re-grab the working yarn and thread it through your finger’s two loops.
- Continue doing so throughout the row.
Double Hook
- With a foundation chain, begin.
- Slip it into the fourth chain from the finger by yanking it over it.
- Using the working yarn, make three loops on your finger by pulling it through the chain.
- Pull through the first two loops and yank over.
- Pull through the final two loops and repeat the yawning process.
- Continue doing so throughout the row.
Concluding
- Cut yarn, leaving a little tail, when last stitch is completed.
- To secure the stitch, pull the tail through the final loop on your finger.
- Using a tapestry needle or your fingers, weave in any loose ends.
Finger Crochet Projects
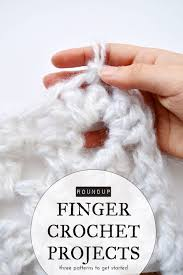
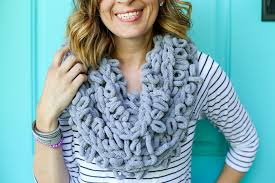
Simple Finger Crochet Scarf
Materials Needed:
- Chunky yarn (about 200-300 yards)
- Scissors
Instructions:
- Foundation Chain: Create a chain of 10-12 stitches, depending on the desired width of the scarf.
- Row 1: Single crochet into the second chain from your finger and across the row.
- Row 2: Turn your work and chain 1. Single crochet in each stitch across.
- Repeat: Continue working in single crochet rows until the scarf reaches the desired length.
- Finishing: Cut the yarn, pull through the last loop, and weave in the ends.
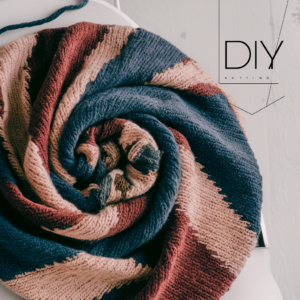
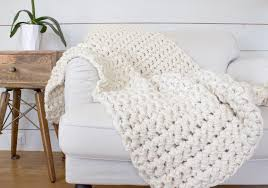
Finger Crochet Blanket
Materials Needed:
- Super bulky yarn (approximately 800-1000 yards for a small blanket)
- Scissors
Instructions:
- Foundation Chain: Depending on the blanket’s intended width, make a chain of 30 to 50 stitches.
- Row 1: Work double crochet across row and into the fourth chain from your finger.
- Row 2: Make a turn and chain three. Join each double crochet to the next stitch.
- Again: Double crochet rows should be worked until the blanket is the desired length.
- To finish, cut the yarn, thread the last loop through, and tuck the ends in.
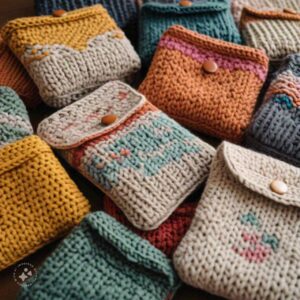
Finger Crochet Basket
Materials Needed:
- Bulky yarn (about 200 yards)
- Scissors
Instructions:
- Base: Work 10–12 stitches in a chain. In the second chain, single crochet across from your finger. To create a flat circle, work in consecutive rounds, enlarging as necessary.
- Sides: To begin making the sides, single crochet in the back loop only along the edge of the base once it is the proper size. Work in single crochet rounds until the appropriate height is reached by the basket.
- To finish, cut the yarn, thread the last loop through, and tuck the ends in.
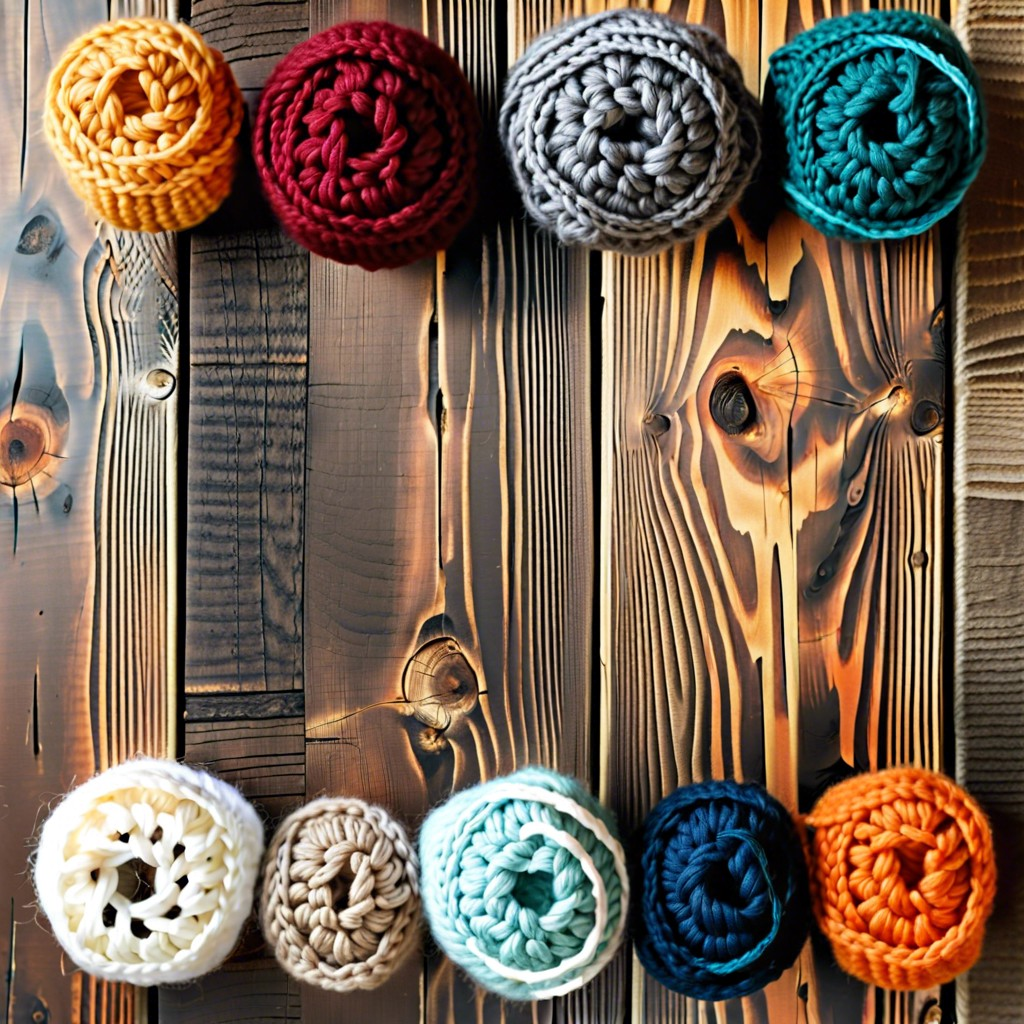
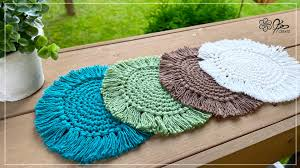
Finger Crochet Coasters
Materials Needed:
- Medium weight yarn (about 50 yards per coaster)
- Scissors
Instructions:
- Magic Ring: Make a magic ring and fill it with six single crochets.
- Round 1: Work 12 single crochets, double crocheting in each stitch.
- Round 2: Work 18 single crochets (18 sc) in the next stitch, then work 2 single crochets in the next stitch.
- Round 3: Work 24 single crochets (one in each of the next two stitches, one in each of the next two stitches) in total.
- To finish, cut the yarn, thread the last loop through, and tuck the ends in.\
Advice & Techniques for Finger Crocheting
- Selecting Yarn: To facilitate finger manipulation, opt for thick, supple yarns.
- Tension: To prevent uneven stitches, maintain a constant tension.
- Practice makes perfect, just as with conventional crocheting. Begin with easy tasks.
- Comfort: Take pauses to prevent hand fatigue, particularly when working on larger projects.
- Storage: Store your finger crochet projects carefully to prevent them from becoming misshapen.
Conclusion
A technique that is both easy to learn and adaptable, finger crocheting allows for endless creative possibilities. Finger crochet offers a distinctive and fun experience, whether you’re an experienced crocheter searching for a new challenge or a newbie looking for a basic introduction to the world of crochet. There are countless projects you can make, ranging from coasters and baskets to scarves and blankets. So take a yarn, release your fingers, and get started with finger crocheting right now!
Related Article
New Crochet Fashion Trends for 2024: Innovative Concepts