When learning how to knit and purl, new knitters frequently struggle to grasp how the kniting stitches and purl stitches on the needles differ from one another. It’s crucial to learn how to “read your knitting” so that you can identify errors in stitch patterns and know how to correct them.
Knit Stitches
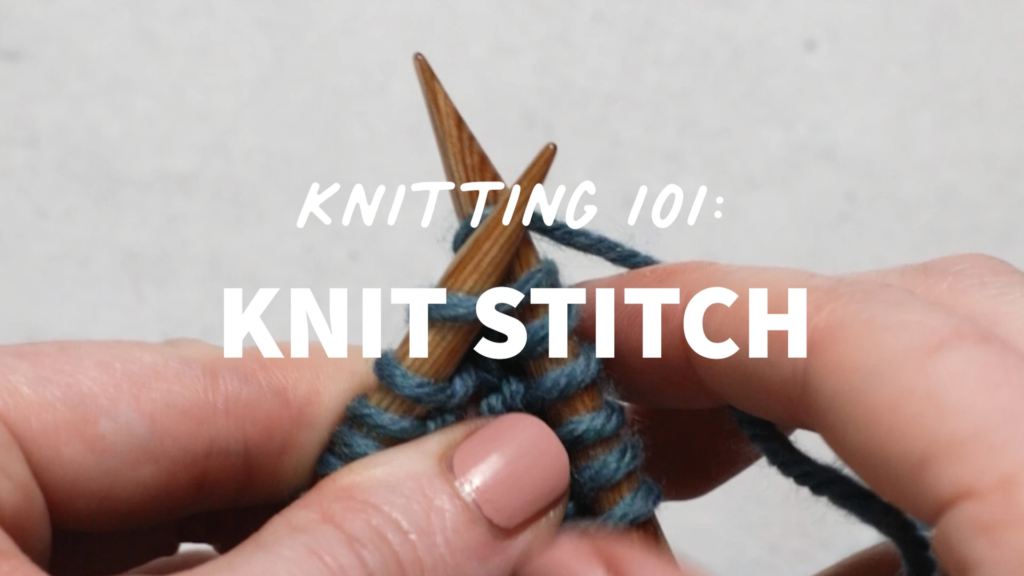
Knit stitches are the building blocks of knitting, and they are used in a plethora of patterns and tasks. For both novice and experienced knitters, it is one of the most crucial stitches to learn because of its ease of use and adaptability. The knit stitch is a favorite for anything from simple scarves to elaborate sweaters because it produces fabric that is strong, flexible, and aesthetically beautiful.
You will need yarn and a pair of knitting needles to complete the knit stitch. To begin, cast on as many stitches as needed onto a single needle. With the empty needle in your right hand and this one in your left, hold them both. The right-hand needle should be inserted into the first stitch on the left-hand needle from front to back while the yarn is behind your work.
The versatility of the knit stitch is what makes it so beautiful. The garter stitch, a ridged, textured fabric, is created when every row is knitted. It’s great for products like scarves and blankets that need extra structure and warmth. Additionally, the garter stitch lies flat, which makes it perfect for borders and edges that you don’t want to curl.
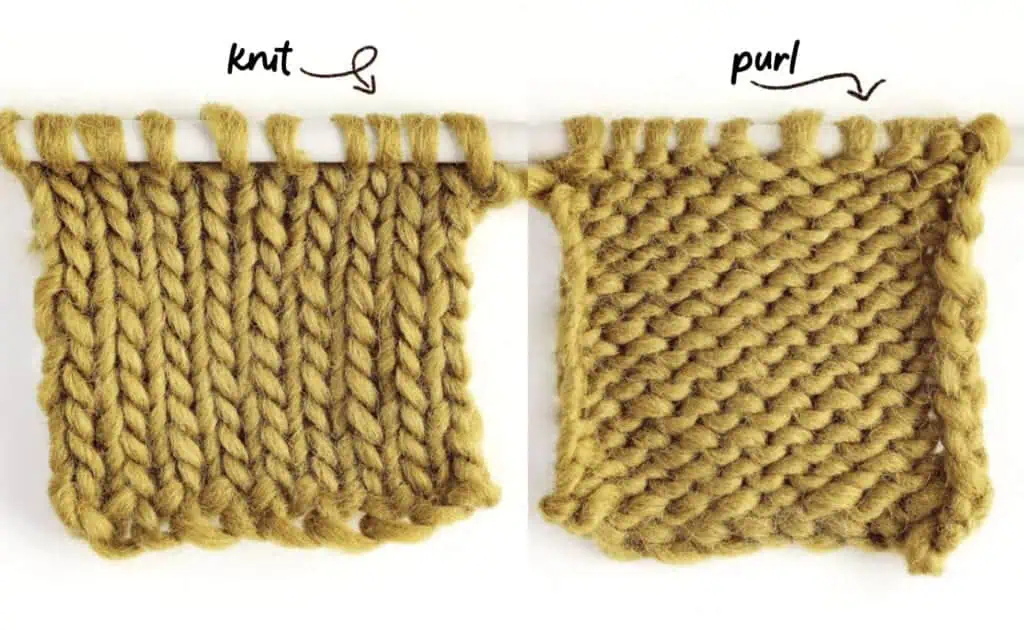
Another basic knitting pattern is the stockinette stitch, which is created by knitting and purling in alternate rows. The right side of stockinette stitch has a smooth, V-shaped appearance, while the wrong side has a rough texture. The material’s smooth appearance and comfortable fit make it a popular choice for apparel. But because stockinette stitch curls at the corners, it’s frequently paired with garter stitch or ribbing to counteract this tendency.
Purl Stiches
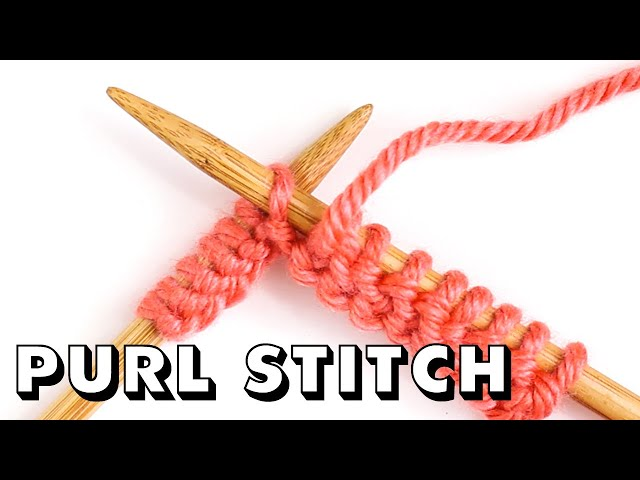
An essential knitting skill, the purl stitch complements the knit stitch to produce a variety of textures and patterns. Knitted materials are distinguished by the purl stitch’s rough, horizontal ridge, which contrasts sharply with the knit stitch’s smooth, V-shaped rows. Developing your purl stitching skills is crucial to making your knitting creations more versatile.
Starting with the yarn in front of your work, perform a purl stitch. Moving the needle through the front of the stitch, place the right-hand needle through the first stitch on the left-hand needle from right to left. Slid the previous stitch off the left-hand needle by putting the yarn around the right-hand needle counterclockwise, pulling the loop through the stitch. This completes one purl stitch for you.Continue this process across the row, then turn your work and repeat for the next row.
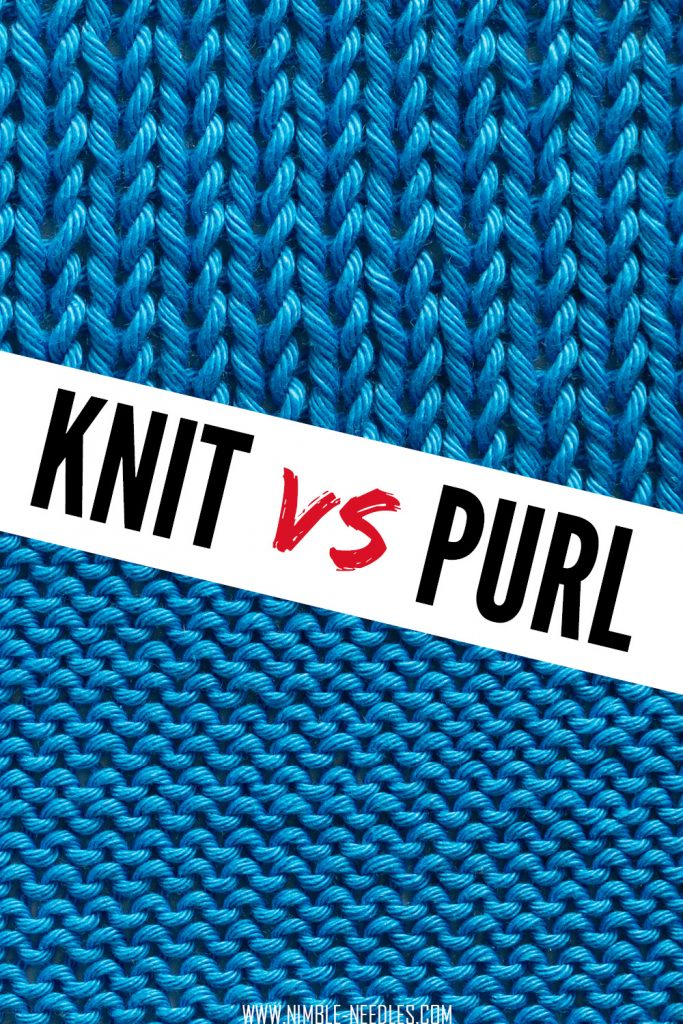
Difference Between a Knit Stitch and Purl Stitch
The distinction between a knit and a purl stitch is the most fundamental concept to grasp while learning to read your knitting.
The majority of knitters start with the knit stitch and are accustomed to the uneven ridges of garter stitch, which are created by knitting each stitch on each row.
Things can become a little trickier when purling is included. Now you understand that the purls are actually the “bumps” and that knitting and purling are just two sides of the same knit fabric.
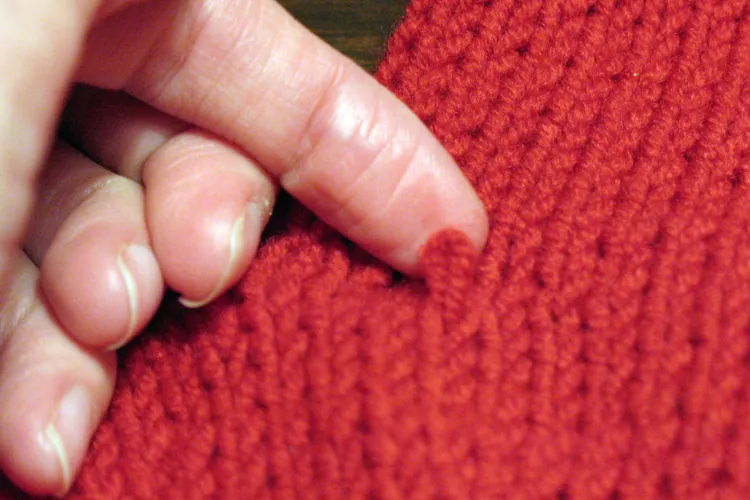
Observing the above sample of ribbing, you will notice columns of bumps and columns of Vs. The bumpier areas of the cloth are purls on the right side, while the Vs, or flatter-looking portions of the fabric, are knit stitches.
That “on the right side” is crucial because, to achieve the identical effect on the right side, you knit the opposite stitch on the back of the knitting: the back of a kniting stitch seems like a purl stitch, and the back of a purl stitch appears like a knit stitch.
Patterns will sometimes instruct you to “knit the knits and purl the purls” as you see them; this means that you should perform the opposite of what was done in the previous row to make the two rows seem the same.
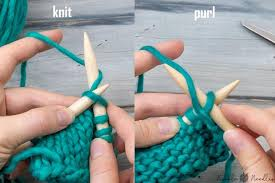
You may also distinguish between a knit and a purl stitch by looking at the stitches on the needles; the knit stitches are simply loops, whereas the purls have a small protrusion (sometimes known as a “pearl”) underneath.
Finding Mistakes
Identifying errors in knitting stitch patterns becomes much simpler once you know what knit and purl stitches look like. You’ll see errors in that pattern more readily if you know what two knit stitches followed by two purl stitches should look like on your needle as well as in the knit cloth.
For instance, you can see that there is an extra purl stitch in this picture. The middle stitch in the image is a purl stitch when it should be a knit. Both the knit fabric and the extra bump on the needle are visible; the bump is where the cloth should be smooth.
What can you do if you identify the issue? If you’ve made the error on the same row, you can “tink”—knit the row backward—by gently inserting the left-handed needle through the stitch on the row below and then removing the stitch from the current row until you reach the mistake.
You can purposefully drop a stitch after knitting across to the mistaken stitch if you discover the mistake rows later. Depending on where you are in your pattern, drop the stitch down to the row before the error and pick up the stitch again with a crochet hook as a knit or a purl.
Related Article
Art of knitting