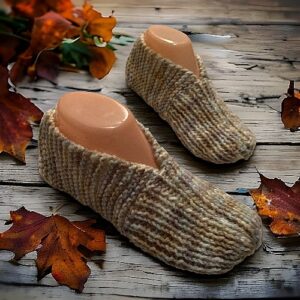
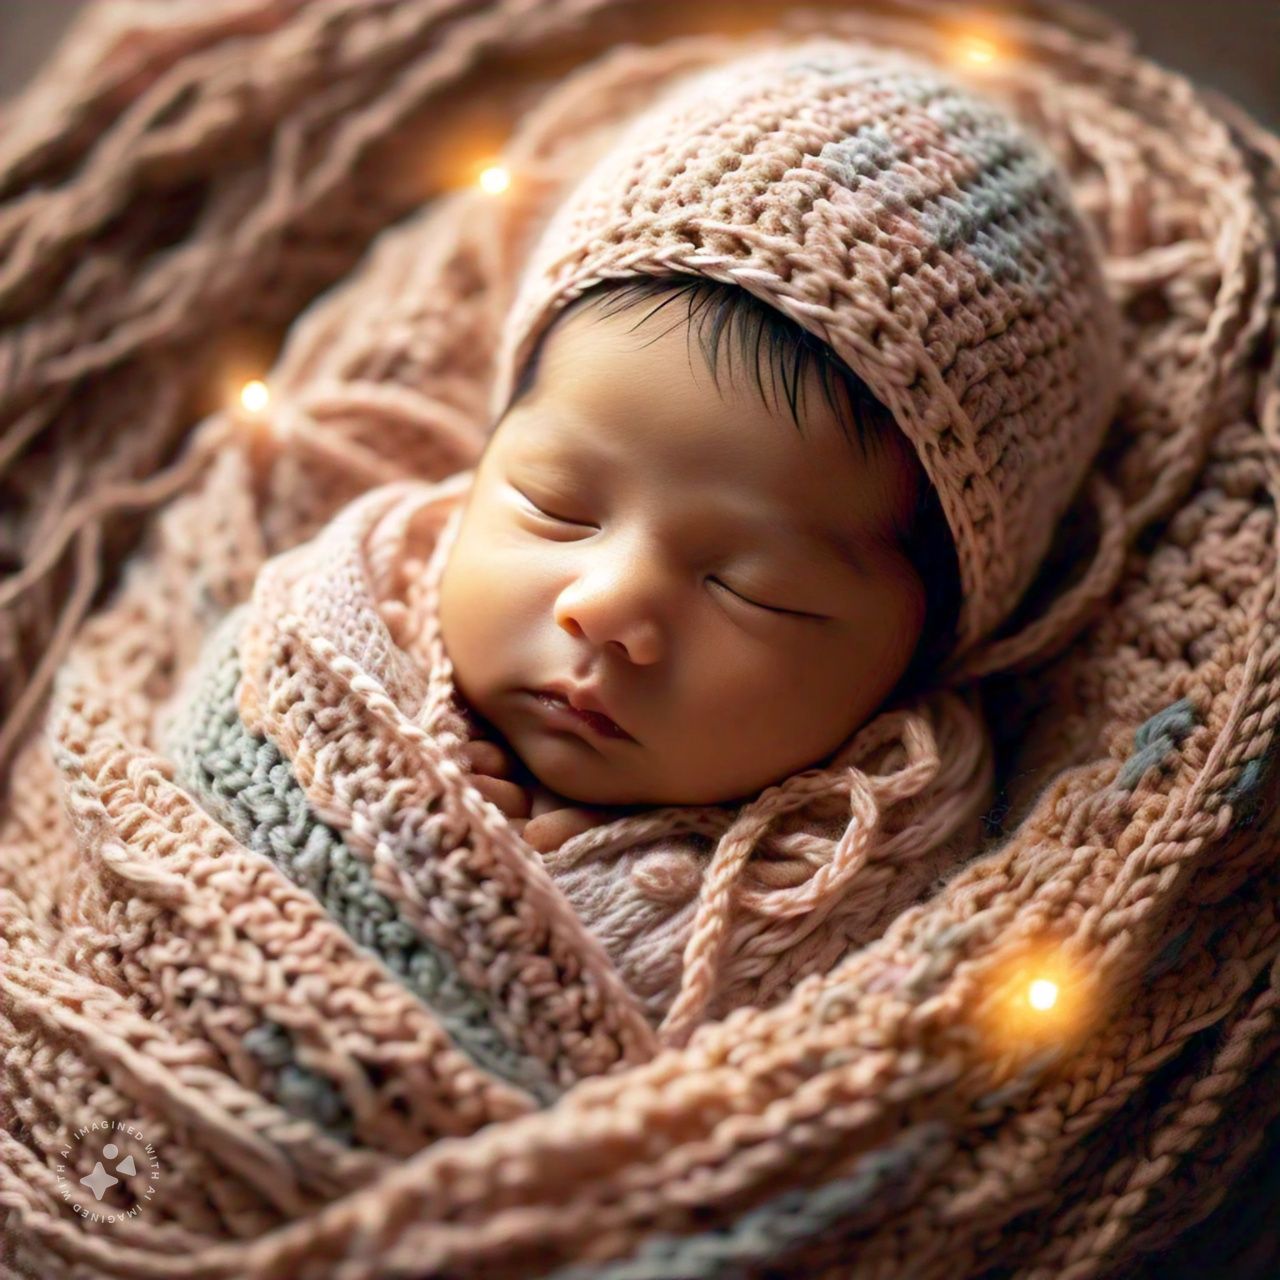
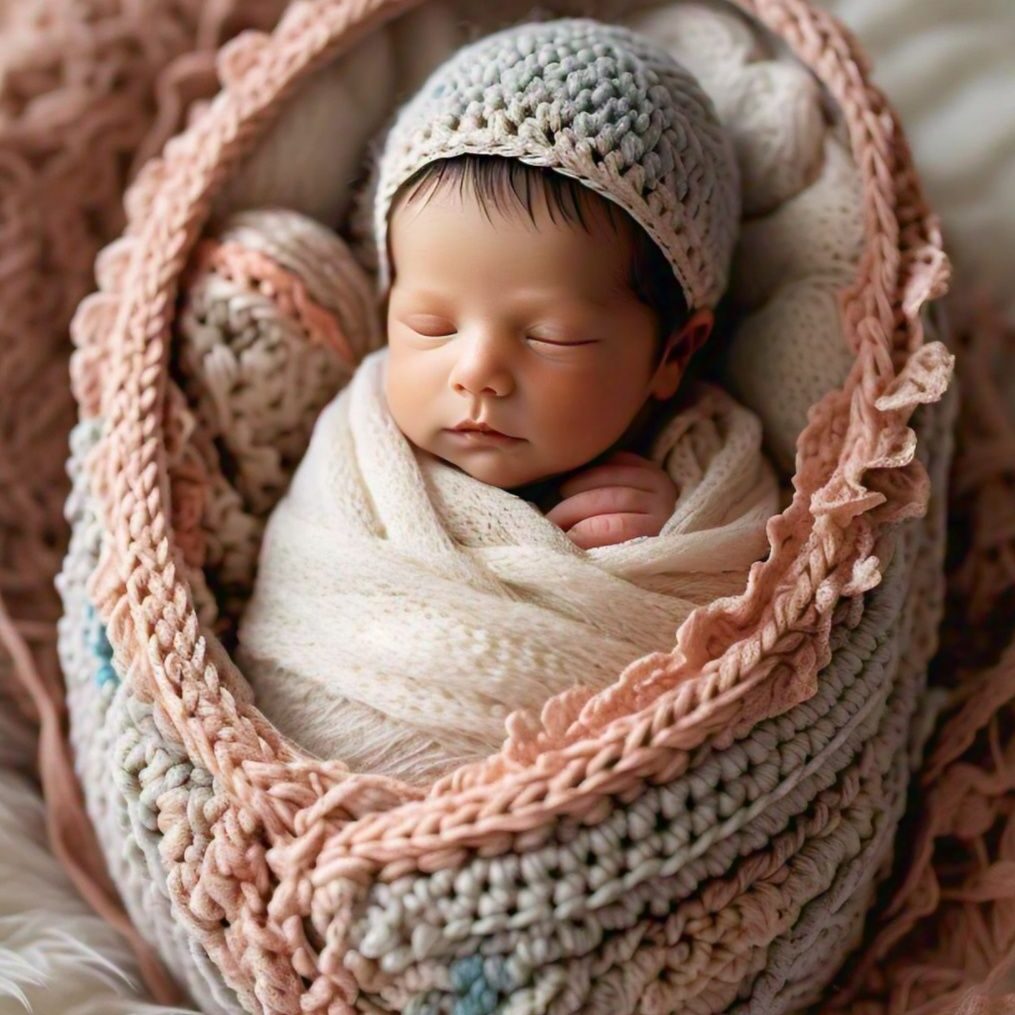
Learn how to make a crochet baby cocoon using this free pattern. The super bulky yarn choice is perfect. First of all, it means that your sleep sack works up really quickly. But more importantly, it keeps baby extra cozy since it is so plus. This cocoon pattern only uses double crochet stitches worked in the back loop, so as long as you can work in the round you can complete this project.
Equipment / Tools
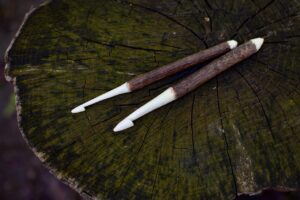
- Size K crochet hook
Materials
- 3 balls bulky yarn
Instructions
Yarn
Four different colors of extra bulky (size 7) yarn and a size K crochet hook are needed to complete this free pattern. Three colors will take about a full ball apiece; the fourth color is merely an edging. Naturally, you have the option to create your own baby cocoon in a single hue or as many different colors as you’d like.
Sizing Information
This baby cocoon is a nice size for a baby weighing about 7 pounds, measuring about 10″ across and 18″ long. Since it offers instructions in the form of a tutorial for crocheting a baby cocoon, this design is easily adjustable to fit a variety of body sizes.
Size Chart
Relief Share, an organization that donates handmade baby cocoons to hospitals, suggests the following sizes for babies of different weights:
- XXS: 14″ tall x 6″ wide; 1.5 to 3 lbs
- XS: 16″ tall x 8″ wide; 3 to 5 lbs
- S: 18″ tall x 10″ wide; 6 lbs to 8 lbs
- M: 20″ tall x 10″ wide; 9 lbs to 11 lbs
- L: 23″ tall x 12″ wide; 12 to 15 lbs
- XL: 25″ tall x 12″ wide; 15 to 17 lbs
As we begin to make this crochet baby cocoon, the first size that we’re going to concern ourselves with is the width across.
7 Easy Steps To Make a Crochet Baby Cocoon

1. Start Your Cocoon With Double Crochet
We are going to make this crochet baby cocoon by working double crochet in the round.
Using your first color:
- Ch 4
- Sl st to close, creating a ring
- Ch 3 (counts as first dc)
- Work 9 dc into center of ring
- Sl st to top of ch 3 to close round
Note: If you prefer to begin crochet projects in the round, using the magic ring, then make your magic ring and crochet 10 dc st into the center of the ring.
2. Increase the Circle
Proceed to enlarge your crochet circle until it reaches the desired width (as measured across the center) for your baby cocoon. To get to 10″ across, we will make a total of 5 rounds for our cocoon.
- Round 2: Ch 3 (counts as first dc), dc in BLO of same stitch, 2 dc in BLO of each stitch around, sl st to top of ch 3 to close the round (Total of 20 stitches).
- Round 3: Ch 3 (counts as first dc), 2 dc in BLO of next st, * 1 dc BLO, 2 dc BLO, repeat from * around, sl st to top of ch 3 to close the round (Total of 30 stitches).
- Round 4: Ch 3 (counts as first dc), 1 dc in BLO of next st, 2 dc in BLO of next st, * 1 dc BLO, 1 dc BLO, 2 dc BLO, repeat from * around, sl st to top of ch 3 to close the round (Total of 40 stitches).
- Round 5: Ch 3 (counts as first dc), 1 dc in BLO of next st, 2 dc in BLO of next st, 2 dc in BLO of next st, * 1 dc BLO, 1 dc BLO, 1 dc BLO, 2 dc BLO, repeat from * around, sl st to top of ch 3 to close the round (Total of 50 stitches).
By now, the diameter of your circle should be 10″. If you need to get to 10″, you can remove or add rounds. If you’re making a different-sized sleep bag, you can, of course, use a different number of rounds.
3. Change Yarn Colors
Next, in order to obtain the shape of the sleep sack, we will cease expanding the circle and begin extending it vertically. Now is an excellent time to make color changes. After Round 5, terminate Color A. To make the first double crochet, join Color B. Ch 3.
4. Continue Making Rounds
We will now have 50 stitches in each round, the same amount we had when we ended round 5, therefore we won’t need to increase in the next rounds.
- Round 6: Ch 3 to create first dc. Dc in each stitch around. Sl st to top of ch 3 to close round (Total 50 stitches).
- Rounds 7 through 8: Repeat round 6.
5. Begin Third Color
At any point, you have the option to alter your color. Now is the time to change the infant cocoon’s color to the third hue, exactly following this free template. So after round eight, finish off Color B and join Color C.
- After switching to the third color, you’ll continue as before. Repeat Round 6. You will repeat this round until you have reached the approximate desired length of your baby cocoon. For our size, we are going to crochet six more rounds to reach about 18″ long.
- Rounds 9 through 14: Repeat round 6 using color C.
6. Create the Edging Pattern
When the length is to your liking, finish the crocheted baby cocoon by adding an edge. You are free to utilize any kind of edge. In order to create a very basic edge, in this instance, we will link our fourth color and single crochet in each stitch around.
- Round 15: Join Color D. Ch 1 (counts as first sc), sc in each st around, sl st to close round. Fasten off and weave in ends.
7. Finish Off the Cocoon
And that’s it! You have your crochet cocoon! In summary:
- Determine your size
- Crochet a circle in the round until its diameter is the desired width of your cocoon
- Continue to crochet in the round without increasing until you’ve reached the desired length of your baby cocoon.
- Add an edging
Related Articles