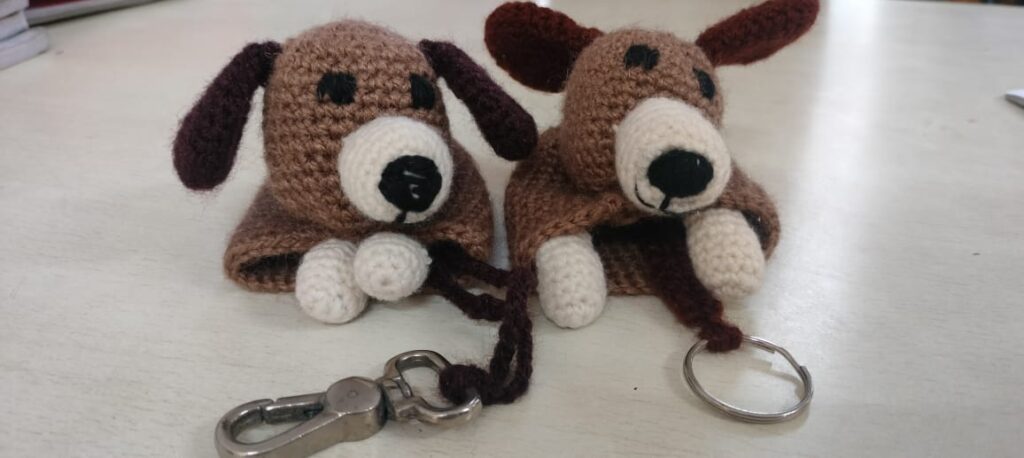
Crochet dog a stuff dog frequently take great pleasure in employing their abilities and creativity to create adorable and plush toys. These crocheted works of art not only highlight the complexity and variety of crochet stitches, but they also make the maker and the recipient happy. We explore the creativity, methods, and happiness that crocheted stuffed toys bring to crafting groups around the globe as we delve into this fascinating world.
Stuffed animals made of crochet, ranging from charming personalities to fanciful animals, are always in style. They are handcrafted masterpieces imbued with love and care, not merely toys. Whether you’re a novice keen to discover the world of amigurumi or an experienced crocheter searching for new projects, this post will walk you through the fundamentals, spark your imagination, and light up your creative love.
To make a stuffed toy dog with crochet, you’ll need basic crochet skills and some materials. Here’s a general guide to get you started:
Crochet Dog Materials Needed:
- Crochet yarn in desired colors (main color for the body, additional colors for details like eyes, nose, etc.).
- Crochet hook suitable for your yarn thickness.
- Stuffing material (polyester fiberfill or cotton stuffing).
- Yarn needle.
- Safety eyes (optional, you can also crochet eyes if preferred).
- Scissors

Step 1: Begin with the Body
- Magic Ring: Make a magic ring (adjustable loop) and crochet 6 single crochet (sc) stitches into the ring. Pull the tail to tighten.
- Increase Rounds: In the next round, work 2 single crochet stitches in each stitch around (12 stitches). Repeat this increase pattern in the next round (24 stitches).
- Body Rounds: Crochet several rounds of single crochet without increasing, maintaining 24 stitches in each round. This forms the body of your dog. Adjust the length as desired.
Step 2: Crochet the Legs (Make 4)
- Magic Ring: Make a magic ring and crochet 6 single crochet stitches into the ring.
- Increase Rounds: In the next round, work 2 single crochet stitches in each stitch around (12 stitches). Repeat this increase pattern in the next round (24 stitches).
- Leg Length: Crochet several rounds of single crochet without increasing to form the length of the leg (about 5-6 rounds).
- Close and Stuff: Close the leg by slip stitching across the top. Stuff the leg firmly with stuffing material.
- Attach to Body: Sew the legs evenly spaced around the bottom of the body.
Step 3: Create the Head
- Magic Ring: Make a magic ring and crochet 6 single crochet stitches into the ring.
- Increase Rounds: In the next round, work 2 single crochet stitches in each stitch around (12 stitches). Repeat this increase pattern in the next round (24 stitches).
- Head Shape: Crochet several rounds of single crochet without increasing to form the head. Adjust the length to match the body.
- Stuff the Head: Stuff the head firmly with stuffing material.
Step 4: Craft the Ears (Make 2)
- Magic Ring: Make a magic ring and crochet 4 single crochet stitches into the ring.
- Increase Rounds: In the next round, work 2 single crochet stitches in each stitch around (8 stitches). Repeat this increase pattern in the next round (16 stitches).
- Ear Shape: Crochet several rounds of single crochet without increasing, then decrease stitches in the last round to form a pointed ear shape.
- Attach Ears: Sew the ears onto the sides of the head.
Step 5: Add Facial Features
- Eyes: Attach safety eyes or sew on buttons for eyes. Place them between rounds of the head, evenly spaced.
- Nose: Crochet a small nose using black yarn and sew it onto the muzzle area.
- Mouth: Embroider a mouth using black yarn or embroidery floss.
Step 6: Attach Tail and Finish
- Tail: Crochet a small tail and sew it onto the back of the body.
- Assembly: Sew the head onto the body, making sure it’s centered.
- Finishing Touches: Weave in any loose ends and trim excess yarn. Use a yarn needle to tidy up any visible stitches.
Step 7: Optional Embellishments
- Add a collar using a contrasting color of yarn.
- Crochet accessories like bows or bandanas to personalize your dog.
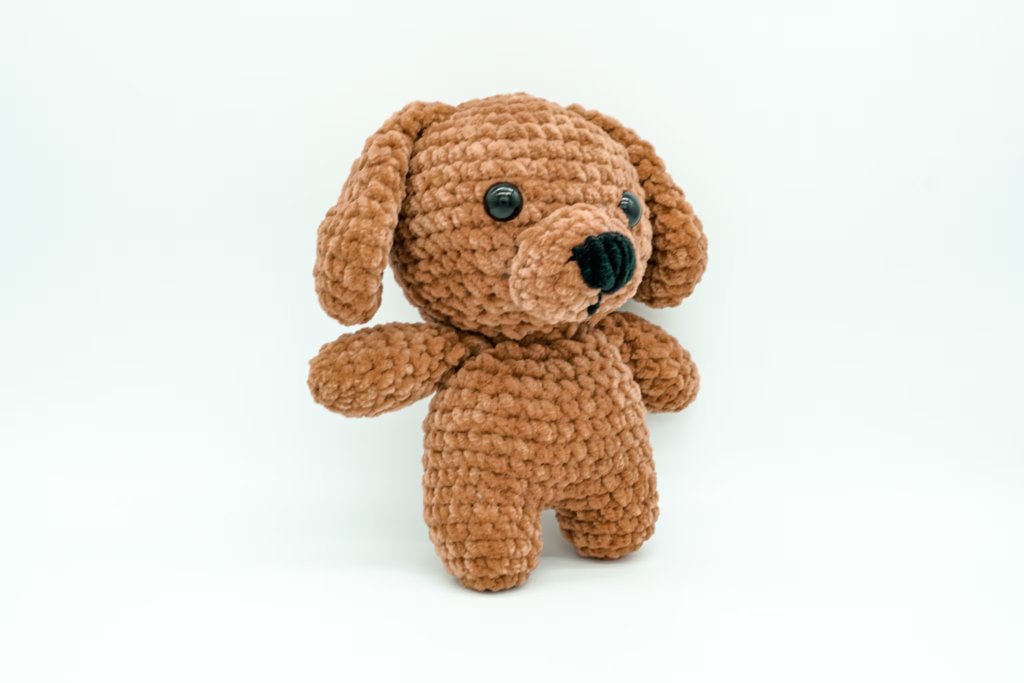
Conclusion
Once everything is securely attached and the toy is well-stuffed, your crochet dog is ready to be cherished or gifted to someone special. Practice these steps and experiment with colors and details to create unique variations of crochet dogs. Happy crocheting! Use positive affirmations to elevate your thoughts and increase your self-assurance. Remind yourself that every stitch is a step toward creating something beautiful and that it’s acceptable to make errors.
For the beginners you can learn basic also.
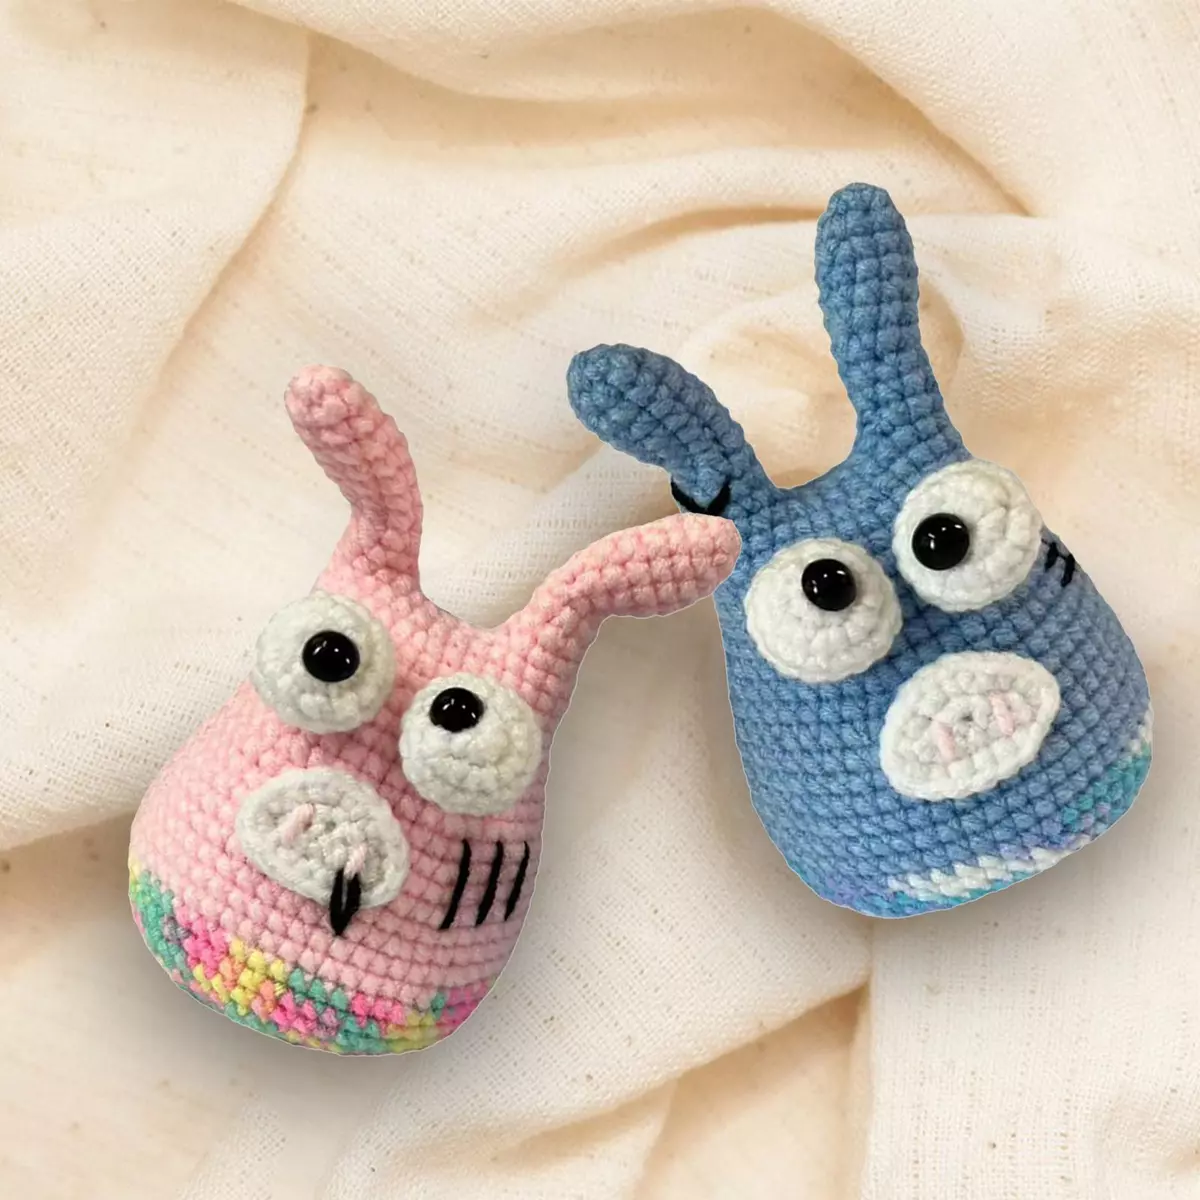
According to Crochet with Mahum you can learn different types of stuff toys
https://mahumcrochets.blogspot.com/2024/05/how-to-crochet-cute-bunny-holding.html

Pingback: What's the Right Crochet Hook for Beginners? And 3 Best Crochet Hook For Beginners